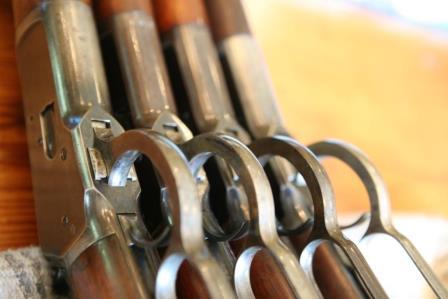
Provided you have all the parts and screws a totally stripped receiver is pieced together in the following order:
- Install the left and right guide rails
- Install the loading gate
- Install the carrier.
- Provided the bolt/firing pin, and extractor are together, then insert the ejector, spring, and collar into the bolt.
- Slide the bolt assembly with ejector into the receiver part ways, enough to where you can take the head of the lever and insert it to each side of the ejector on the underside of the bolt, then push the lever and bolt forward to close the breech (its a little tricky because the ejector/spring/collar tend to move out of place). To be sure you have it in there correctly, with the lever engaging the bolt there should be spring tension on the ejector. Once this is attained push the bolt forward closing the breech, then slide in one of you locking bolts to hold it in place. Then insert the lever pin through the opening on the left side of the receiver through the bolt/lever/right side of bolt. You will have to use a punch to make sure it is seated (otherwise the bolt will not move).
- Insert the locking bolts into the underside of the receiver aligning the locking pin holes with the opening in the lever body through which it passes. Secure the locking pin and then the locking pin set screw.
- Install the hammer
- Install the lower tang and mainspring, put on your buttstock
This is sort of the short version but you get an idea of the order–If I remember it right.
Here is a pic of the receiver parts/screws (carrier and ejector are different if this is a small caliber but assembled the same way)
1892takedown @sbcglobal.net ......NRA Endowment Life Member.....WACA Member
"God is great.....beer is good.....and people are crazy"... Billy Currington
Hello W10ring,
Can I please get more information about your rifle so that I can add it into a research survey I am working on? This will help you and I am always happy to get photos.
http://forums.gunbroker.com/topic.asp?TOPIC_ID=606355
Micahel

Model 1892 / Model 61 Collector, Research, Valuation


 Log In
 Members
 Home
Home

 Add Reply
 Add Topic
 Offline


